By Brenda Ashaka
Alpha 4 Real AC Repair & Service, Katy, TX
In Texas, you need your air conditioner. No question about that. Without a good working AC, your home quickly becomes unlivable.
As we get ready to go into the summer months, we are already seeing temperatures in the nineties so now is the time to take stock and ensure that your air conditioning system is ready to the heat.
So what do I need to do, you ask? Good question. While you may not be able to repair all air conditioning problems you may face, it is important to know a thing or two about your AC system or to have step-by-step AC repair techniques at your fingertips.
Note – we are not encouraging you to undertake major AC repairs. These are better left with experienced AC repair professionals who are trained and have decades of experience fixing AC problems. You can do more harm than good by dabbling in AC repairs if you are not a trained AC repair professional.
If you are in Houston, Katy, Sugar Land, Sealy, Pearland, The Woodlands, Spring, Richmond, Rosenberg, or other nearby cities, call the AC repair specialists with Alpha 4 Real AC Repair & Service 24 hours including weekends and holidays.
Here are a few steps to take if you are looking to fix or maintain your AC system.
Step 1: Identify the Source of the Rattling Noise.
The first step in AC repair is to identify the source of the rattling noise. Once you have determined the source, you can take appropriate actions to fix the issue.
Here are some common sources of rattling noises in an AC system:
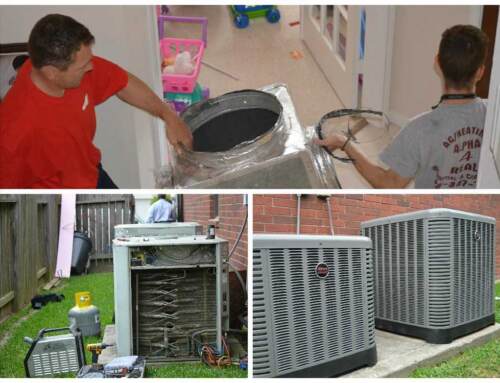
1. Loose or Damaged Fan Blades: Inspect the fan blades in both the indoor and outdoor units for any visible damage or signs of looseness. Tighten loose screws or bolts, or replace damaged blades as needed.
2. Loose or Worn-out Motor Mounts: Check the motor mounts in the indoor unit for any signs of wear or looseness. Tighten them or replace them if necessary.
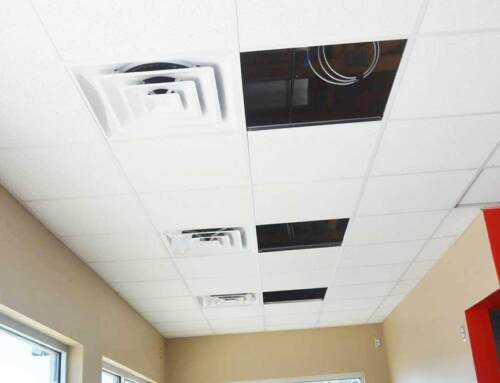
3. Loose or Disconnected Ducts: Inspect the ductwork for any visible signs of dislodgment or damage. Look for loose or disconnected ducts, gaps in the ductwork, or dents that may be causing vibrations. Reconnect or tighten the ducts or repair any damage to the ductwork as needed.
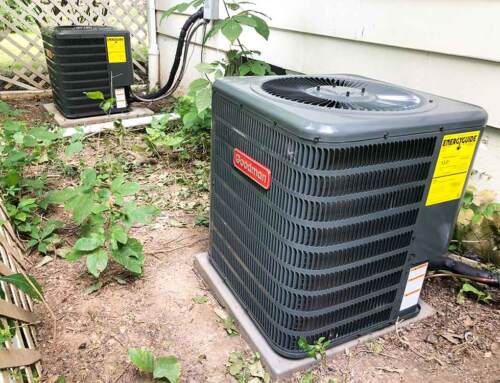
4. Debris in the Outdoor Unit: Remove any debris, such as leaves, sticks, or dirt, from the condenser unit. Clean the fan blades and other components to ensure they are free from debris.
5. Compressor Issues: Check the compressor in the outdoor unit for any signs of wear or looseness. If the compressor is faulty, it may need to be repaired or replaced by an air conditioning repair professional.
Step 2: Tighten or Replace Loose or Damaged Components.
Once you have identified the source of the rattling noise, you may need to tighten or replace loose or damaged components. Here’s how:
1. Fan Blades: If the fan blades are loose or damaged, tighten them or replace them as needed. Use the appropriate tools and follow the manufacturer’s instructions for tightening or replacing fan blades.
2. Motor Mounts: If the motor mounts are loose or worn-out, tighten them or replace them with new ones. Use the correct size and type of mounts recommended by the manufacturer.
3. Ductwork: If the ducts are loose or disconnected, reconnect or tighten them as needed. If there is any damage to the ductwork, repair it using appropriate materials and techniques. Consider using duct tape or mastic sealant to seal any gaps or leaks in the ducts.
4. Compressor: If the compressor is faulty, it may need to be repaired or replaced by a professional HVAC technician. Do not attempt to repair or replace the compressor yourself unless you have the proper knowledge and experience.
Step 3: Add Insulation to Ductwork.
If you suspect that the rattling noises are due to the expansion and contraction of ductwork, you may need to add insulation to reduce the movement. Here’s how:
1. Inspect the ductwork for any visible signs of movement, such as rubbing against other surfaces or vibrating excessively.
2. Measure the size of the ducts and purchase the appropriate type and thickness of insulation recommended by the manufacturer.
3. Install the insulation around the ducts, making sure to cover all sides and joints. Use insulation tape or staples to secure the insulation in place.
4. Consider using vibration isolation materials, such as rubber pads or neoprene strips, to further reduce the movement of the ducts and prevent rattling noises.
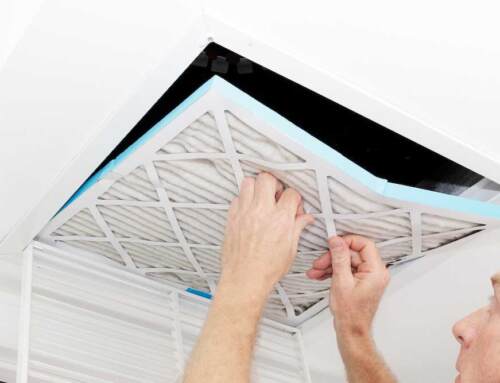
Step 4: Clean or Replace Air Filter A dirty or clogged air filter can restrict airflow and cause the AC system to work harder, resulting in rattling noises.
Follow these steps to clean or replace the air filter:
1. Locate the air filter in your AC system, which is usually located in the return air duct or the air handler.
2. Remove the air filter and inspect it for dirt or clogs. If the filter is dirty, replace it with a new filter.
If you have questions call us at 281-347-7325. We answer all calls 24 hours.