By Brenda Ashaka
Alpha 4 Real AC Repair & Service, Katy, TX
Having an air conditioning (AC) system in your home is a blessing, especially during the hot summer months when temperatures in Texas can hit the triple digits. However, when your AC starts making rattling noises, it can be annoying, disruptive, and even concerning.
Fortunately, many rattling AC noises can be easily troubleshooted and resolved. Here our katy AC repair experts will guide you through the process of troubleshooting rattling AC noises.
We will cover various potential causes of the issue, step-by-step troubleshooting techniques, and possible solutions to get your AC running smoothly and quietly once again.
Understanding Your AC System
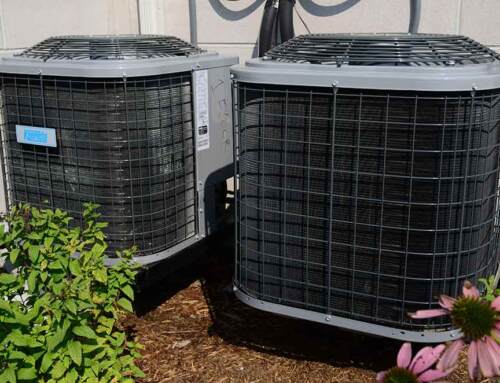
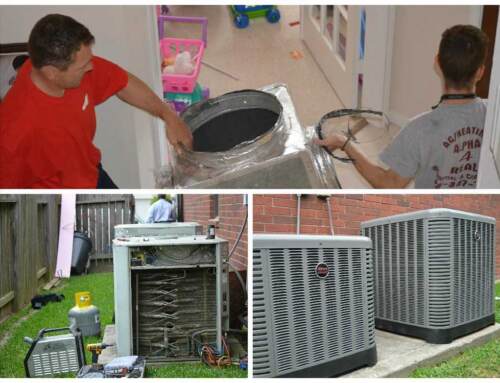
Before diving into troubleshooting rattling AC noises, it’s essential to understand how your AC system works. An AC system typically consists of an indoor unit (evaporator coil, blower motor, and air filter) and an outdoor unit (condenser coil, compressor, and fan).
The indoor unit is responsible for circulating the cool air into your home, while the outdoor unit dissipates the heat absorbed from indoors. The two units work together to provide you with a comfortable and cool living environment.
Causes of Rattling AC Noises
Several potential reasons can cause your AC system to make rattling noises. Here are some common culprits:
1. Loose or Damaged Fan Blades: The fan blades in your AC unit are responsible for circulating the air. If the blades are loose, out of balance, or damaged, they can create a rattling noise when the AC is running.
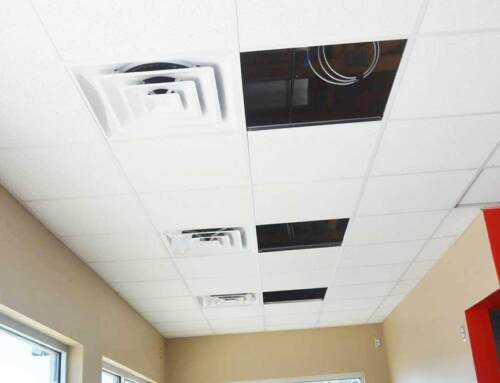
2. Loose or Dislodged Ductwork: The ductwork in your HVAC system carries the conditioned air from the AC unit to different rooms in your home. If the ducts are not properly secured or have come loose, they can vibrate and create rattling noises when the air flows through them.
3. Faulty Motor Mounts: The motor in your AC unit drives the fan blades. If the motor mounts are loose or worn out, it can cause the motor to vibrate excessively, resulting in rattling noises.
4. Debris in the Condenser Unit: The condenser unit of your AC is located outside and can accumulate debris like leaves, sticks, or other debris. If this debris gets caught in the fan blades or other components, it can cause rattling noises when the AC is running.
5. Loose or Faulty Compressor: The compressor pressurizes the refrigerant to cool the air. If the compressor is loose or faulty, it can vibrate excessively, creating rattling noises.
See also: Components of Your Home’s Air Conditioning (AC) System You Should Know.
6. Expansion and Contraction of Ductwork: Ductwork can expand and contract as the temperature changes, especially if it’s not properly insulated. This expansion and contraction can cause the ducts to make rattling noises as they rub against other surfaces or move within the walls or ceilings.
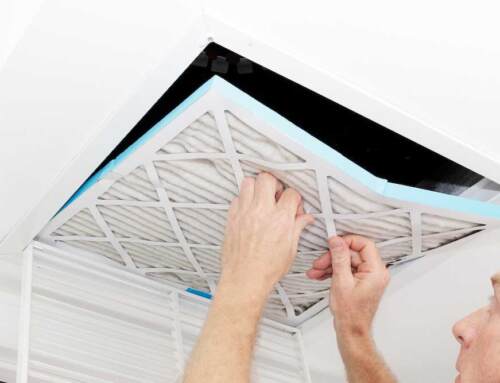
7. Dirty or Clogged Air Filter: The air filter in your AC unit traps dust, dirt, and other particles from entering the system. If the filter is dirty or clogged, it can restrict airflow and cause the AC unit to work harder, resulting in rattling noises.
8. Loose or Worn Out Components: Your AC unit has various components such as screws, bolts, panels, and fasteners that hold everything together. If any of these components are loose, worn out, or missing, they can create rattling noises when the AC is operating.
Step-by-Step Troubleshooting Techniques for AC Rattling Noises
Now that we have covered the potential causes of rattling AC noises, let’s move on to the step-by-step troubleshooting techniques to identify and resolve the issue.
Turn Off the AC System and Inspect the Indoor Unit
The first step in troubleshooting rattling AC noises is to turn off the AC system and inspect the indoor unit. Here’s what you should do:
1. Switch off the power to your AC system by turning off the circuit breaker or disconnecting the power supply.
2. Open the access panel to the indoor unit, usually located near the air handler or blower motor.
3. Inspect the fan blades for any visible damage or signs of looseness. If you notice any issues, such as bent blades or loose screws, tighten them or replace the damaged parts.
4. Check the air filter for dirt or clogs. If the filter is dirty, clean or replace it according to the manufacturer’s instructions.
5. Inspect the motor mounts for any signs of wear or looseness. If the mounts are loose or worn out, tighten them or replace them as needed.
6. Check for any loose or missing screws, bolts, or panels in the indoor unit. Tighten or replace them as necessary.
Step 2: Examine the Ductwork
The next step is to examine the ductwork in your HVAC system. Follow these steps:
1. Inspect the ductwork for any visible signs of dislodgment or damage. Look for loose or disconnected ducts, gaps in the ductwork, or dents that may be causing vibrations.
2. Check the connections between the ducts and the air handler or blower motor. Ensure they are tightly sealed and properly secured.
3. Look for any obstructions, such as debris or dust, in the ducts that may be causing airflow restrictions or rattling noises. Clean or remove any obstructions as needed.
4. If you suspect that the ductwork is expanding and contracting due to temperature changes, consider insulating the ducts to reduce the movement and prevent rattling noises.
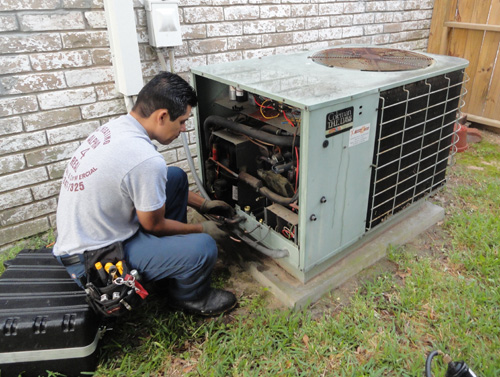
Step 3: Inspect the Outdoor Unit
Next, you’ll need to inspect the outdoor unit of your AC system. Here’s how:
1. Switch off the power to the outdoor unit by turning off the circuit breaker or disconnecting the power supply.
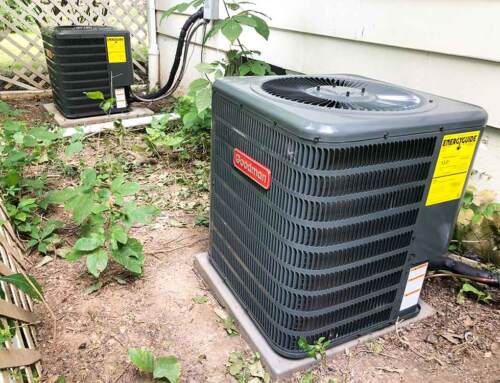
2. Remove any debris, such as leaves, sticks, or dirt, from the condenser unit. Clean the fan blades and other components to ensure they are free from debris.
3. Inspect the fan blades for any visible damage or signs of looseness. Tighten any loose screws or bolts,or replace damaged blades.
4. Check the compressor for any signs of wear or looseness. If the compressor is loose or faulty, it may need to be repaired or replaced by a professional.
Step 4: Check for Expansion and Contraction of Ductwork
If you suspect that the rattling noises are due to the expansion and contraction of ductwork, follow these steps:
1. Inspect the ductwork for any visible signs of movement, such as rubbing against other surfaces or vibrating excessively.
2. Consider adding insulation to the ducts to reduce the movement caused by temperature changes.
3. Check for any loose or missing fasteners or brackets that may be causing the ducts to move. Tighten or replace them as needed.
Step 5: Check the Air Filter
A dirty or clogged air filter can restrict airflow and cause the AC system to work harder, resulting in rattling noises. Follow these steps to check and clean or replace the air filter:
1. Locate the air filter in your AC system, which is usually located in the return air duct or the air handler.
2. Remove the air filter and inspect it for dirt or clogs. If the filter is dirty, clean it according to the manufacturer’s instructions or replace it with a new one.
If you have followed these steps and the issue is not resolved, then it is time to call your local AC repair professionals.
In Houston, Katy, Sugar Land, Richmond, Rosenberg, The Woodlands, Sealy, Pearland, and other nearby cities, call Alpha 4 Real AC and Heating Service at 281-347-7325 or simply complete this short AC repair request form and we will be out to take care of the issue. We answer call 24 hours.